
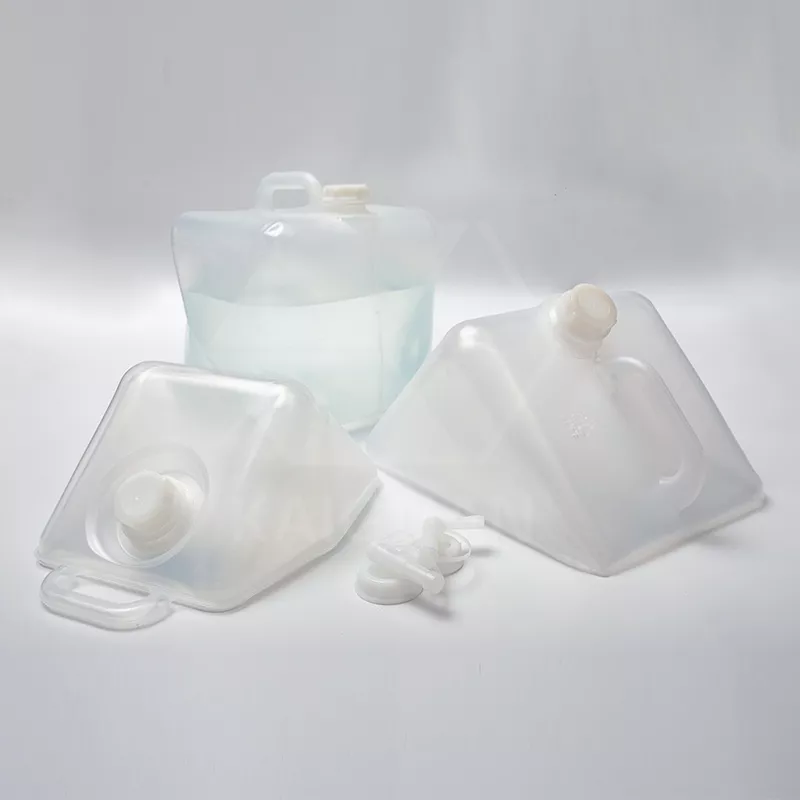
For camping, hiking, RV travel, emergency preparedness, and even domestic water storage, collapsible water containers are indispensable. Their lightweight, foldable design makes them convenient and space-saving. However, because they are flexible and often stored folded, they can easily trap moisture, bacteria, and residue. Without proper cleaning, they may develop odors, mold, or contamination that compromises water safety.
This complete guide explains how to properly clean a collapsible water container, how often to clean it, what cleaning solutions are safe, and how to prepare it for storage or camping use.
Why Cleaning a Collapsible Water Container Is Important
Unlike rigid plastic jugs or stainless steel bottles, collapsible containers have folds, seams, and spouts that can trap moisture. These areas are prime environments for:
- Bacterial growth
- Mold and mildew
- Biofilm formation
- Plastic taste transfer
- Algae (if exposed to light)
If left uncleaned, these contaminants can affect water taste and, more importantly, create health risks.
Regular cleaning ensures:
- Safe drinking water
- Extended container lifespan
- Odor-free storage
- Reliable emergency use readiness
How Often Should You Clean It?
Cleaning frequency depends on usage.
| Usage Type | Cleaning Frequency |
| After each camping trip | Immediately after use |
| Daily household use | Every 2–3 days |
| Emergency storage (unused) | Every 3–6 months |
| After storing water long-term | Before refilling |
If water was stored for more than a week, clean before refilling.
Step 1: Empty and Rinse Immediately
- The best cleaning habit starts right after use.
- Empty all remaining water.
- Rinse thoroughly with warm water.
- Open all caps, valves, and spouts.
- Do not let leftover water sit inside for extended periods.
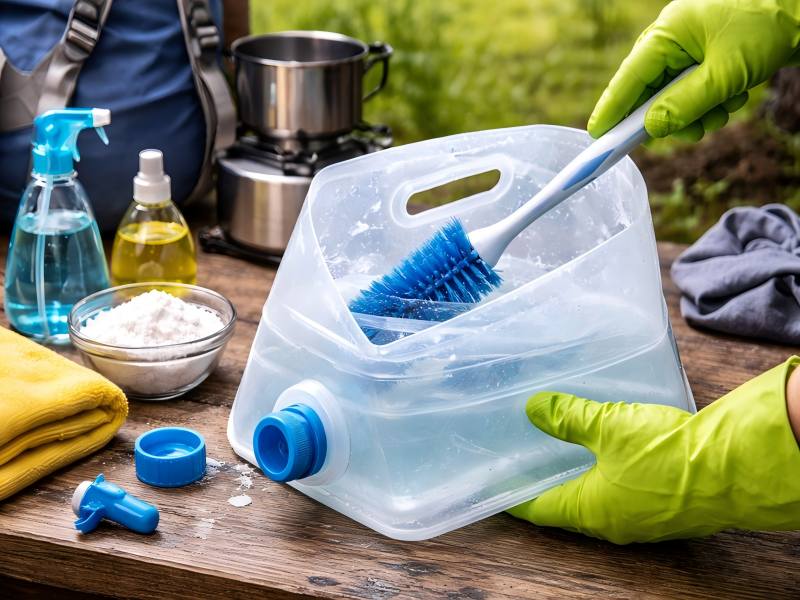
Step 2: Basic Cleaning with Soap
For routine cleaning, mild dish soap works well.
Materials Needed
- Mild dish soap
- Warm water
- Soft sponge or cloth
- Bottle brush (for large openings)
Cleaning Process
- Fill the container halfway with warm water.
- Add a few drops of mild dish soap.
- Close cap and shake vigorously.
- Use a soft sponge to clean inside (if accessible).
- Clean spout and valve separately.
- Rinse thoroughly until no soap residue remains.
- Avoid abrasive brushes that may scratch interior surfaces.
Step 3: Deep Cleaning and Sanitizing
If the container smells, has been unused for months, or was used outdoors extensively, perform a sanitizing treatment.
Option A: Bleach Solution (Most Effective)
| Mixture Ratio | Soak Time |
| 1 teaspoon unscented bleach per 1 liter water | 2–5 minutes |
Steps:
- Fill container with diluted solution.
- Shake gently.
- Let sit for 2–5 minutes.
- Rinse thoroughly with clean water.
- Air dry completely.
Important: Always use unscented bleach only.
Option B: Vinegar Solution (Natural Alternative)
| Mixture Ratio | Soak Time |
| 1 part white vinegar : 3 parts water | 10–15 minutes |
Vinegar helps remove odor and mild buildup but is less effective against heavy bacterial contamination.
Option C: Baking Soda for Odor Removal
If your container has a plastic smell:
- Add 1–2 tablespoons baking soda.
- Fill with warm water.
- Shake and let sit overnight.
- Rinse thoroughly.
Step 4: Spout and Valve Cleaning
The most contaminated area is frequently the spout.
Spout Cleaning Checklist
- Remove detachable spout if possible.
- Soak separately in cleaning solution.
- Use cotton swabs or small brushes.
- Pump push-pull valves several times.
- Rinse thoroughly.
- Never skip cleaning the cap threads and gasket areas.
Step 5: Removing Mold (If Present)
If you notice black or green spots:
- Use bleach solution immediately.
- Scrub gently with soft brush.
- Rinse thoroughly.
- Inspect seams carefully.
- If mold persists in seams or layers, discard the container for safety reasons.
- Never use mold-contaminated containers for drinking water.
Step 6: Proper Drying After Cleaning
Cleaning alone is not enough — drying is equally important.
Recommended Drying Method
- Fully drain.
- Inflate slightly with air.
- Hang upside down.
- Leave caps open.
- Allow 6–24 hours to dry completely.
Drying Time Guide
| Environment | Drying Time |
| Indoor dry room | 6–12 hours |
| Outdoor shaded | 4–8 hours |
| Humid climate | 12–24 hours |
Do not fold or seal until completely dry.
Safe Storage Practices
After cleaning and drying:
Store loosely folded
Leave cap slightly open
Keep in cool, dry location
Avoid sealed plastic bags
Keep away from direct sunlight
Ideal storage temperature: 10–25°C (50–77°F)
Common Cleaning Mistakes to Avoid
| Mistake | Risk |
| Using hot boiling water | Warps plastic |
| Using strong chemicals | Material degradation |
| Skipping spout cleaning | Bacteria growth |
| Storing while damp | Mold development |
| Using abrasive scrubbers | Surface damage |
Always follow manufacturer material recommendations.
Material-Specific Cleaning Tips
Different collapsible containers use different materials.
| Material | Cleaning Tip | Warning |
| LDPE | Mild soap + warm water | Avoid high heat |
| TPU | Gentle cleaning only | Do not overstretch |
| PVC | Avoid harsh solvents | UV sensitive |
| Multi-layer laminates | Ensure thorough drying | Moisture traps in folds |
Always check if your container is BPA-free and food-grade certified.
Camping Cleaning Tips
When outdoors:
- ddddddddddddddddd
Emergency Preparedness Cleaning Strategy
For emergency kits:
- Clean and dry before storing.
- Label last cleaning date.
- Inspect every 6–12 months.
- Rotate stored water every 6 months.
If used during disaster response, sanitize thoroughly before reuse.
Removing Strong Odors (Advanced Method)
If odors persist after cleaning:
- Fill the container with warm water.
- Add 2 tablespoons of baking soda.
- Let it sit for 24 hours.
- Rinse.
- Follow with a vinegar rinse.
- Rinse again.
- Persistent odor after two attempts may indicate material degradation.
When to Replace the Container
Replace your collapsible water container if:
- Cracks or leaks appear.
- Strong odor remains after deep cleaning.
- Mold cannot be fully removed.
- Seams begin separating.
- Plastic becomes sticky or brittle.
- For drinking safety, do not compromise.
Hygiene and Safety Recommendations
- Use only food-safe cleaning solutions.
- Do not store sugary or flavored liquids.
- Avoid leaving container in hot car.
- Inspect before every trip.
Treat your collapsible water container as drinking equipment — because it is.
Frequently Asked Questions
Can I put it in the dishwasher?
Most collapsible containers are not dishwasher-safe due to heat exposure. Check manufacturer guidelines.
Can I use hydrogen peroxide?
Yes, diluted 3% hydrogen peroxide can sanitize, but rinse thoroughly afterward.
Is boiling water safe?
No. Boiling water can warp flexible plastic materials.
Final Thoughts
A collapsible water container is a reliable tool for camping, travel, and emergency storage — but only if properly maintained. Frequent cleaning ensures safe drinking water anytime you need it by preventing the growth of bacteria, mold, and odors.
The cleaning process is simple:
- Rinse immediately after use
- Wash with mild soap
- Sanitize when needed
- Dry completely
- Store properly
By incorporating these habits into your routine, you extend the life of your container and protect your health.